

A label that lies flat on a release liner may wrinkle on a tapered bottle, lift after chilling or scuff inside a carton. Successful wine bottle labels are approved on production-equivalent glass under the temperatures, moisture and handling expected after filling.
Test 1: map the bottle instead of measuring one panel
Measure the diameter or circumference across the intended label height. Some bottles taper, curve into the shoulder or include molded marks. Apply a paper template to identify areas where the label bridges, wrinkles or approaches a seam.
Test 2: clean glass changes adhesion
Dust, condensation, release residue and surface treatments can affect bonding. Use bottles from the actual supply chain and follow the real cleaning process. Apply labels at the expected temperature and allow the adhesive to build before testing.
| Test condition | What it reveals | Failure sign |
|---|---|---|
| Room-temperature application | Initial alignment and bond | Edge lift or trapped air |
| Cold storage | Adhesive and material response | Wrinkling, flagging or stiffness |
| Condensation | Face stock, ink and finish durability | Smearing, darkening or delamination |
| Ice-bucket handling | Wet rubbing resistance | Surface damage or label movement |
| Carton packing | Bottle-to-divider contact | Scuffed edges and rubbed print |
Test 3: choose paper or film for the actual environment
Textured paper can support a traditional look, while film may be considered for moisture exposure or clear effects. Material choice must include the adhesive, ink and protective finish. A laminate cannot correct an unsuitable adhesive.
Test 4: reserve legal information before decoration
Requirements vary by market and product. For the United States, the TTB Wine Labeling resource provides official guidance. Confirm current requirements and approvals with qualified advisers before printing.
Test 5: inspect fine text and foil on the curve
Small type can distort near tight curves, while foil or embossing may change stiffness. Print at final size, apply the label and rotate the bottle under normal shelf lighting. Check whether important information remains readable without turning the bottle excessively.
Test 6: match roll direction to the labeling line
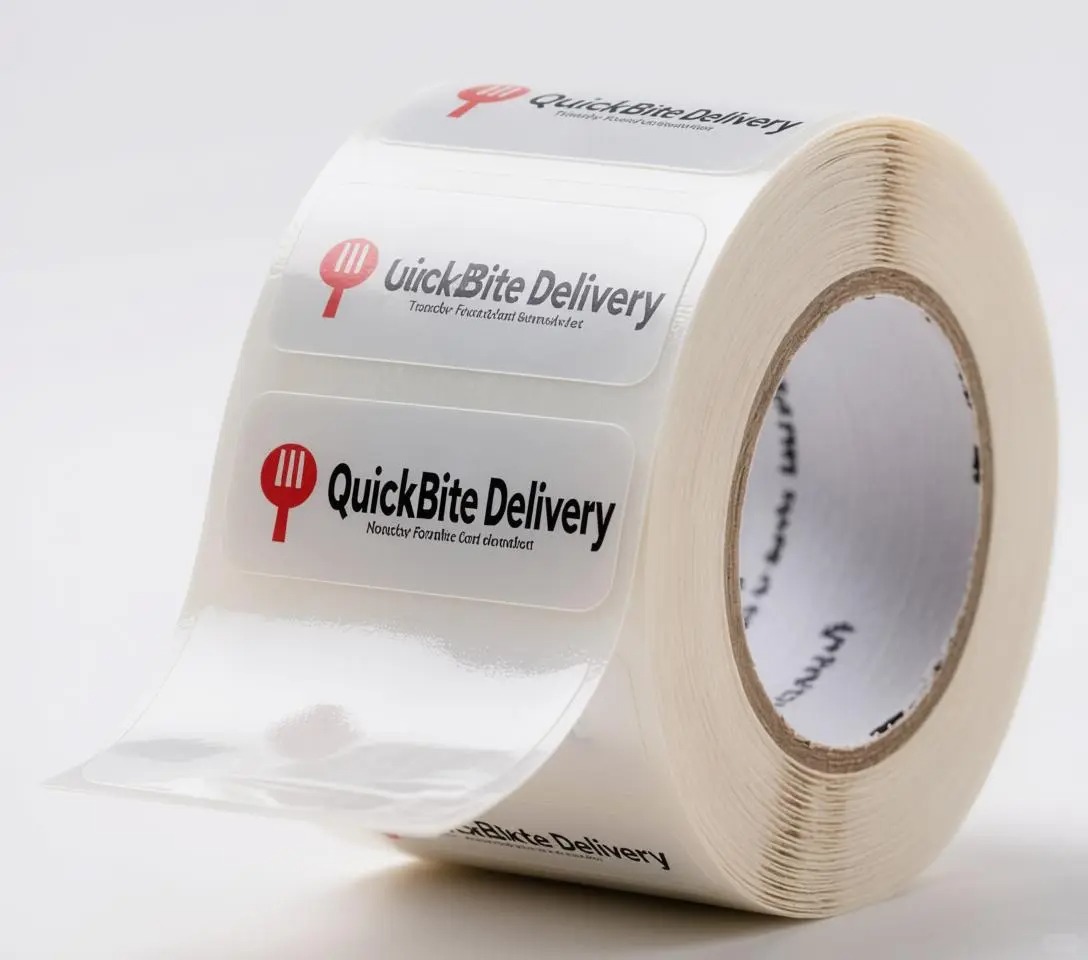
Core size, roll width, winding direction and leading edge must suit the applicator. Send a diagram or sample roll to the equipment team. A correct label in the wrong orientation can stop production.
Approve filled bottles from several production positions
Review early, middle and later samples from the roll. Chill, wet and pack them. The final approval for wine bottle labels should record bottle reference, material, adhesive, finish, roll specification and artwork revision.
- View PackMK custom adhesive labels
- Explore PackMK functional label options
- Send a bottle label application brief
Reliable wine bottle labels combine correct approved content with tested adhesion, readable design and roll specifications that work on the filling line.
Wine label questions
What material is best for wine bottle labels?
The suitable material depends on bottle shape, application temperature, moisture, desired finish, adhesive and handling conditions.
Why do bottle label edges lift?
Curvature, contamination, condensation, application pressure, label size and adhesive choice can all contribute.
Should wine labels be tested in an ice bucket?
Yes, when that use is expected. Test the face material, print, finish and adhesive under realistic wet handling.
What roll details does an automatic labeler need?
Confirm core size, roll diameter, winding direction, label orientation, roll width, gap and leading edge.