

A useful way to develop OEM gift boxes is to open the desired customer experience backward. Start with what the recipient should see, touch and remove, then trace every moment to a structure, material, print file, assembly step and inspection point. PackMK uses this reverse path to keep appearance connected to manufacturable controls.
The method prevents a common problem: a beautiful rendering is approved before anyone verifies product fit, insert removal, assembly time, shipping marks or repeat-order records.
Moment 10: define what remains after unboxing
Decide whether the box is kept for storage, reused for presentation or discarded after opening. That end state affects hinge life, surface durability, internal organization and how much structure is justified. Avoid adding permanent features that do not serve the product or customer.
Write one sentence describing the intended useful life. This gives design and procurement a shared boundary when comparing board, wraps and finishes.
Moment 9: plan product removal without damage
The recipient should be able to lift the product without digging under it, pulling a fragile accessory or tearing the insert. Finger notches, ribbons, stepped compartments and flexible tabs solve different removal problems. Test with representative users and the finished product weight.
A secure fit during transport can still be frustrating at opening. Balance retention with access rather than maximizing tightness.
Moment 8: control the first visual reveal
Map which panel, message and product surface appears first. Place essential artwork away from folds, magnets, ribbon anchors and lid shadows. If tissue, cards or sleeves are part of the reveal, include them in the box specification rather than treating them as later accessories.
Photograph the approved opening sequence so packing teams understand orientation and component order.
Moment 7: make the insert follow the product
Measure the final saleable product, not an early prototype. Record tolerances, cables, caps, closures and any surfaces that may scuff. Paperboard, molded pulp, foam and fabric-covered inserts have different retention, appearance and disposal considerations.
Test the product after vibration and handling. An insert that fits on a desk may release the item when the parcel travels on its side.
Moment 6: select the box architecture
Folding cartons, rigid setup boxes, drawer boxes, book-style boxes and lift-off lids create different tooling, assembly and freight profiles. Choose architecture by product mass, reveal, packing labor, order volume and shipping route. Do not select a complex format only because it looks premium in a mockup.
Ask whether the box ships assembled or flat and who performs final assembly.
Read the unboxing path as production evidence
| Customer moment | Production control | Evidence to approve | Likely failure |
|---|---|---|---|
| Lift product | Insert clearance | Loaded removal test | Product trapped |
| First reveal | Orientation | Packed sample photo | Artwork hidden |
| Open lid | Hinge and closure | Cycle test | Cracking |
| Handle parcel | Board and corners | Transport trial | Dents |
| Store box | Surface durability | Use simulation | Scuffing |
Moment 5: specify board and wrapped surfaces
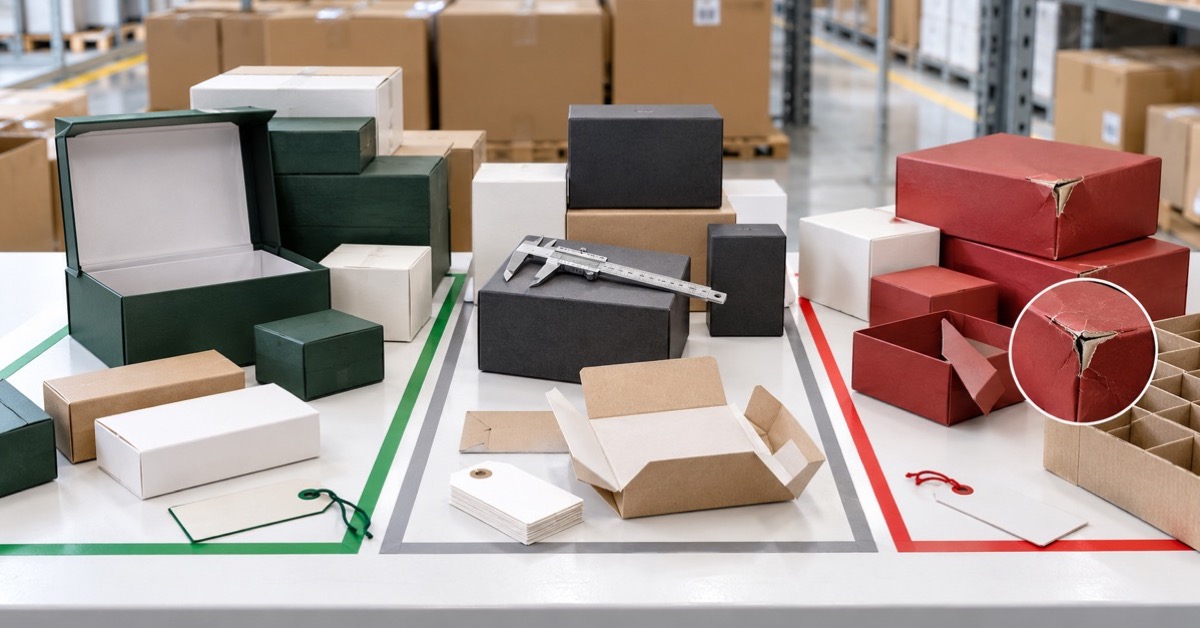
Record paperboard type and thickness, wrap paper, grain direction where relevant, liner, lamination and surface texture. Finished stiffness depends on construction as well as a single board number. Review edges, corners and wrapped joints on an actual sample.
If certified paper sourcing is requested, use the FSC chain-of-custody framework to discuss scope and order evidence accurately.
Moment 4: translate artwork into controlled files
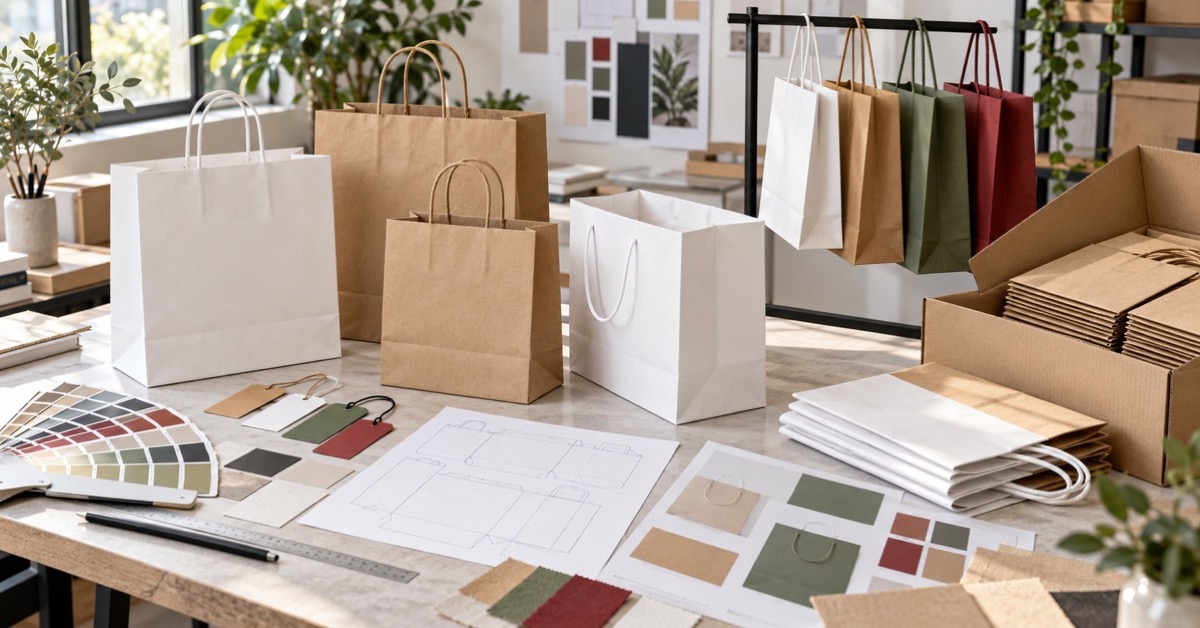
Prepare a locked dieline with cut, crease, bleed, safe area and component names. Outline fonts or supply them according to the printer's workflow. Separate white ink, varnish, foil, embossing and other finishes onto clearly named layers.
Every proof should display an artwork revision and date. A file called final without a revision history is difficult to control when several teams send corrections.
Moment 3: prove color and finishing on real material
Color changes with paper shade, lamination and ink coverage. Foil, embossing, debossing and spot coatings also interact with folds and fine detail. Approve a production-equivalent proof for critical areas and define acceptable position or appearance.
The sample should show edges and corners, not only the front panel. Finishes that look clean on a flat sheet may crack or drift after conversion.
Moment 2: rehearse assembly and packing
Time the complete process: forming the box, loading inserts, adding the product, placing cards, closing, cleaning and packing into cartons. Observe which surfaces operators touch and where components are easily reversed. Simplify parts that add errors without improving the customer experience.
Create a visual work instruction from the approved sample. This makes the unboxing sequence reproducible across shifts.
Moment 1: protect the box before the customer sees it
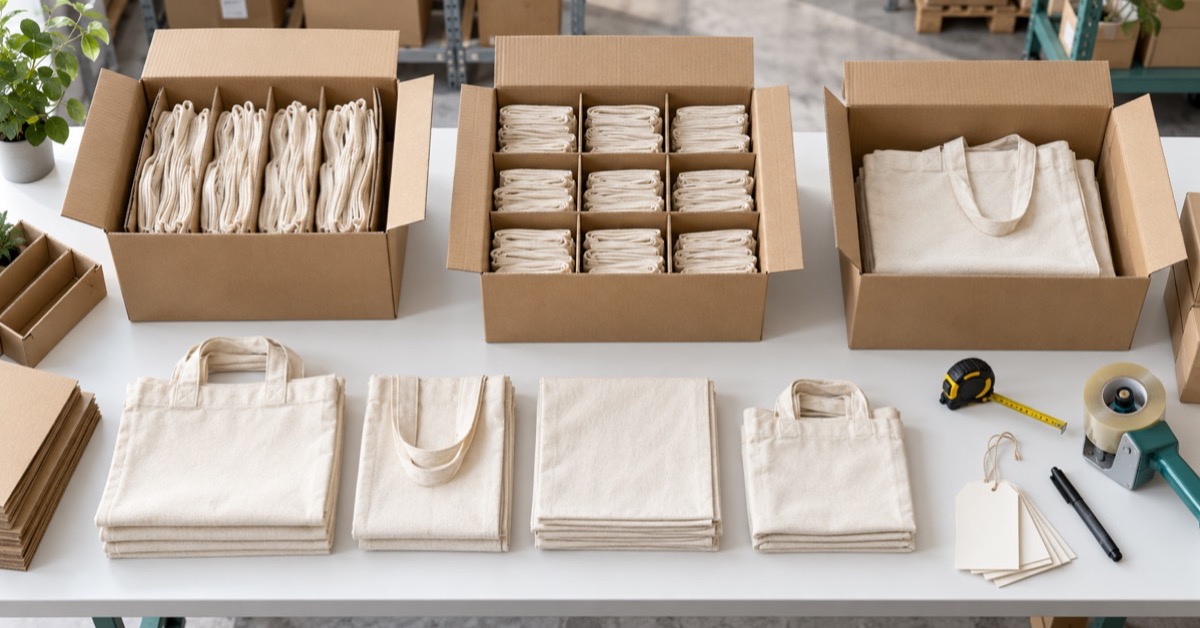
Approve inner wrapping, corner protection, pieces per carton, dividers, carton strength and pallet or parcel assumptions. Decorative boxes may need protection from rubbing against one another. Request carton dimensions and gross weight before calculating landed cost.
Run a shipping simulation suitable for the distribution route, then inspect the box and product together.
Separate development approval from bulk acceptance
A sample answers whether the design can work. Bulk inspection answers whether production matches the approved baseline. Define checks for size, board, structure, print, finishes, inserts, assembly, quantity and packing. Sample cartons across the production lot.
The ISO quality management principles provide process context, but buyers still need order-specific acceptance criteria.
Price every experience layer
Separate the base box, insert, printed wrap, finishing, accessories, assembly, inner protection, cartons, tooling and samples. This cost tree shows which design layer creates value and which only adds complexity. Compare the first order and repeat order separately because setup charges may not recur.
Request the effect of one controlled simplification at a time rather than asking for a general cheaper version.
Use a change gate after sample approval
After approval, material, structure, artwork, finish, insert and packing changes should be logged with the reason, owner and affected tests. A supplier substitution may be reasonable, but it should not bypass approval because it is described as equivalent.
PackMK can coordinate this gate between brand, procurement, product and production teams.
Retain a box that can anchor the reorder
Store the approved sample away from heat, moisture and direct light. Keep the dieline, artwork revision, color reference, board and paper specification, insert drawing, finish details, test results and packing instruction beside it.
For a reorder, list what remains unchanged and identify requested changes explicitly. This is more reliable than asking the factory to repeat the last order from memory.
Coordinate OEM gift boxes with PackMK
PackMK can develop OEM gift boxes from product measurements and an intended reveal through structures, samples, printing, finishing, inserts, inspection and export packing. The approach connects creative direction with evidence that production teams can repeat.
Send PackMK the product, desired opening sequence, artwork, quantity, destination and launch date to request a box development quotation.
Assign ten moments to accountable owners
| Workstream | Decision owner | Supplier output | Approval record |
|---|---|---|---|
| Experience | Brand | Opening sequence | Photo set |
| Product fit | Product team | Insert sample | Loaded test |
| Artwork | Design | Production proof | Revision code |
| Quality | Quality team | Inspection plan | Report |
| Logistics | Procurement | Carton data | Packing specification |
Know when a simpler box is the better decision
A simpler structure can be better when products change frequently, assembly happens at several locations or shipping damage is the main risk. Premium does not require the maximum number of materials and finishes. Coherent proportions, controlled color and a clean reveal can do more than decorative complexity.
Use the backward unboxing map to remove any component that has no clear job.
Convert the reveal into box-production vocabulary
Specify insert design, a Pantone or other controlled color proof where needed, foil stamping areas, drop test expectations, quality inspection points and carton packing. State MOQ by box size and artwork version so commercial assumptions remain visible.
These details allow two suppliers to interpret OEM gift boxes consistently. PackMK can then compare a second sample of OEM gift boxes against the same experience and production controls.
- Explore PackMK gift box and paper packaging formats
- Review PackMK OEM gift packaging development
- Request an OEM gift box quotation
OEM gift box development questions
What information is needed for OEM gift boxes?
Provide product dimensions and weight, desired box style and opening sequence, artwork, insert needs, finishes, quantity, destination, packing route and required delivery date.
Which gift box structure should a buyer choose?
Choose according to product protection, opening experience, assembly location, order quantity, shipping volume and budget rather than selecting structure from appearance alone.
How should a gift box insert be tested?
Load the final product and accessories, simulate handling and transport, then check retention, scuffing, removal effort, component orientation and dimensional tolerance.
Why can printed box color differ from a screen?
Paper shade, ink, lamination, finish, lighting and screen calibration influence appearance, so critical color should be approved on the intended production material.
Can foil and embossing be combined?
They can in suitable designs, but artwork detail, position, tooling, material and conversion sequence must be reviewed through a production-equivalent sample.
What should a box sample approval include?
Identify structure, dimensions, materials, insert, artwork revision, color reference, finishing, accessories, assembly, test results and packing assumptions on the approval record.
How are bulk gift boxes inspected?
Inspect dimensions, construction, board and paper, print, finishes, insert fit, opening function, workmanship, quantities, inner protection and cartons against the approved baseline.
What affects OEM gift box price?
Structure, dimensions, board, wrap paper, printing, finishing, inserts, accessories, quantity, tooling, assembly, inspection and export packing all affect project cost.
How can gift boxes be packed to reduce marks?
Approve protective tissue or sleeves, dividers, orientation, pieces per carton and carton strength, then inspect surfaces after a representative shipping simulation.
What records are needed for a repeat gift box order?
Keep the approved sample, dieline, artwork, material and finish specifications, insert drawing, test results, inspection criteria, assembly guide and carton plan.