

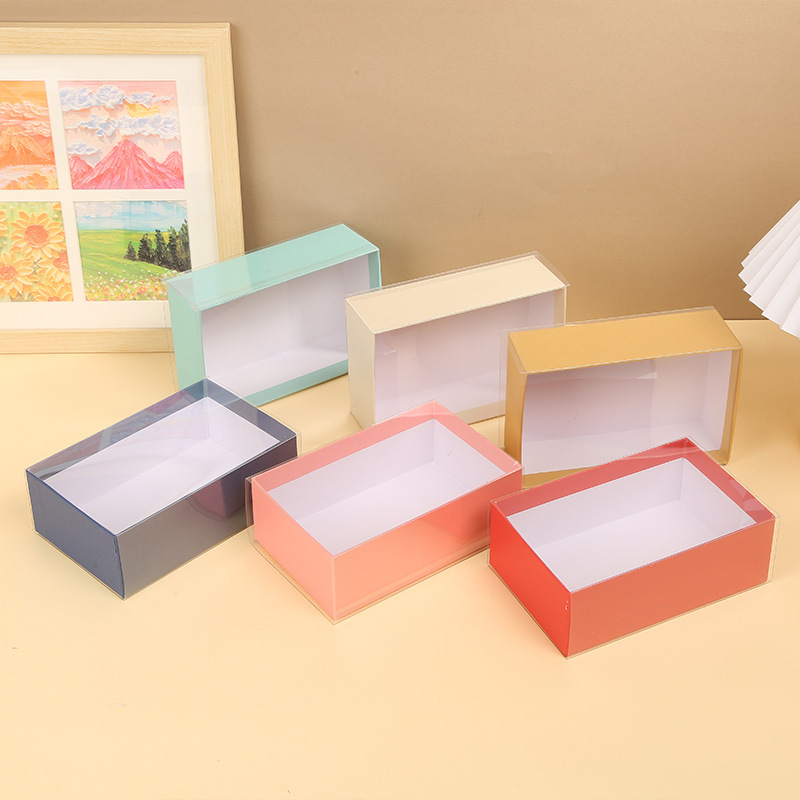
The customer does not experience a jewelry box as a flat dieline. They hold it, find the opening, lift the lid and look for the product. If the insert releases the item too early or the lid hides it, the moment feels awkward. Good jewelry packaging boxes organize that sequence around the product.
Step 1: the outer size signals the product category
A ring, pendant, bracelet and multi-piece set need different internal areas. Avoid using a large box only to create perceived value; empty volume can increase shipping space and allow movement. Begin with the product and insert, then add necessary walls and presentation space.
Step 2: the opening should feel obvious
Lid fit, ribbon pulls, hinges and magnetic closures change the first action. Test with one hand and under normal retail lighting. A tight lid may feel substantial on the sample table and frustrate customers or sales staff during repeated opening.
| Unboxing point | Design question | Approval test |
|---|---|---|
| First touch | Does the surface resist visible marks? | Handle with clean and lightly moisturized hands |
| Opening | Is the lid direction and grip clear? | Ask a new user to open it without instruction |
| Reveal | Is the jewelry visible in the intended orientation? | Open from seated and standing positions |
| Removal | Can the item be lifted without force? | Remove and replace it several times |
| Reclosure | Does the product remain retained? | Close, turn and gently handle the box |
Step 3: the insert controls both security and presentation
Slots, tabs, cushions and elastic supports must match the product geometry. A necklace can tangle, an earring can rotate and a ring can sit too low. Approve the insert with production-equivalent items, including the largest and smallest variation.
Step 4: surfaces must survive retail handling
Soft-touch papers, foil and dark colors can show dust, fingerprints or rubbing. Place sample boxes in drawers, trays and shopping bags as they will be used. Inspect corners and lid edges after repeated handling.
Step 5: branding should not compete with the product
Logo placement, foil, embossing and printed interior messages should support the reveal. Fine decorative work may be lost on a small lid. Approve the finish at actual size and under the light used in stores or photography.
Step 6: responsible sourcing claims need a record
If the project specifies certified paper, the FSC chain-of-custody overview explains how verified material is tracked. Confirm that the supplier, material and claim are covered for the order.
Step 7: the retail box still needs transport protection
Small rigid boxes can rub against one another inside an export carton. Approve inner wrapping, dividers, carton quantity and stacking. A perfect loose sample is not proof that hundreds of boxes will arrive without surface marks.
- Explore PackMK rigid gift boxes
- Review PackMK custom box development
- Start a jewelry box sample request
Successful jewelry packaging boxes keep the product secure while making every action from opening to replacement feel intentional and easy.
Jewelry box questions
What information is needed for jewelry packaging boxes?
Provide product dimensions, weight, orientation, insert needs, box style, surface finish, artwork, quantity and shipping method.
Which insert is best for jewelry?
The right insert depends on the item geometry, retention, removal experience and any material or brand requirements.
Can one box fit several jewelry sizes?
Sometimes, if the insert accommodates the range securely. Test the smallest and largest products before approval.
Why should finished boxes be tested in cartons?
Carton testing reveals rubbing, corner pressure, movement and surface damage that may not appear on a single sample.